Installation
How to installWall Skin.
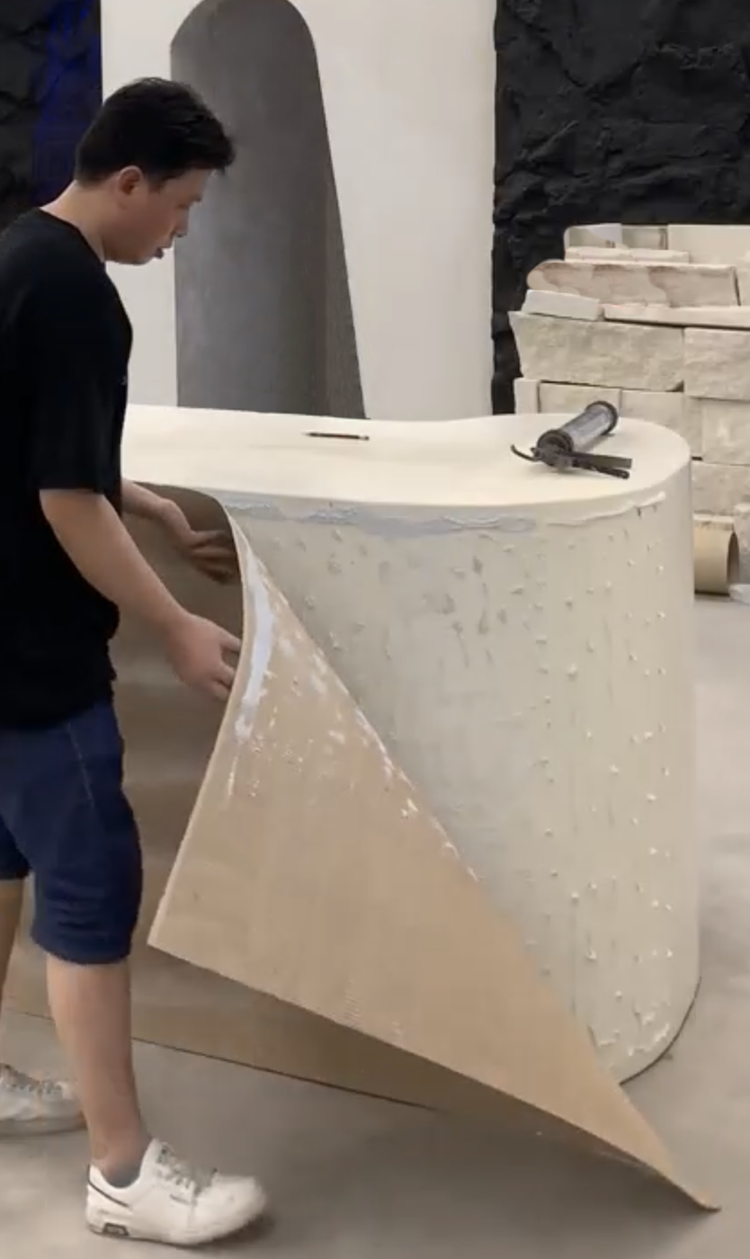
The sheet goes straight onto the prepared wall, bonded with AC3 mortar or PU silicone. No scratch coat, render, filler or sanding: fewer steps, less waste and less time on site.
Indoors
AC3 or PU silicone
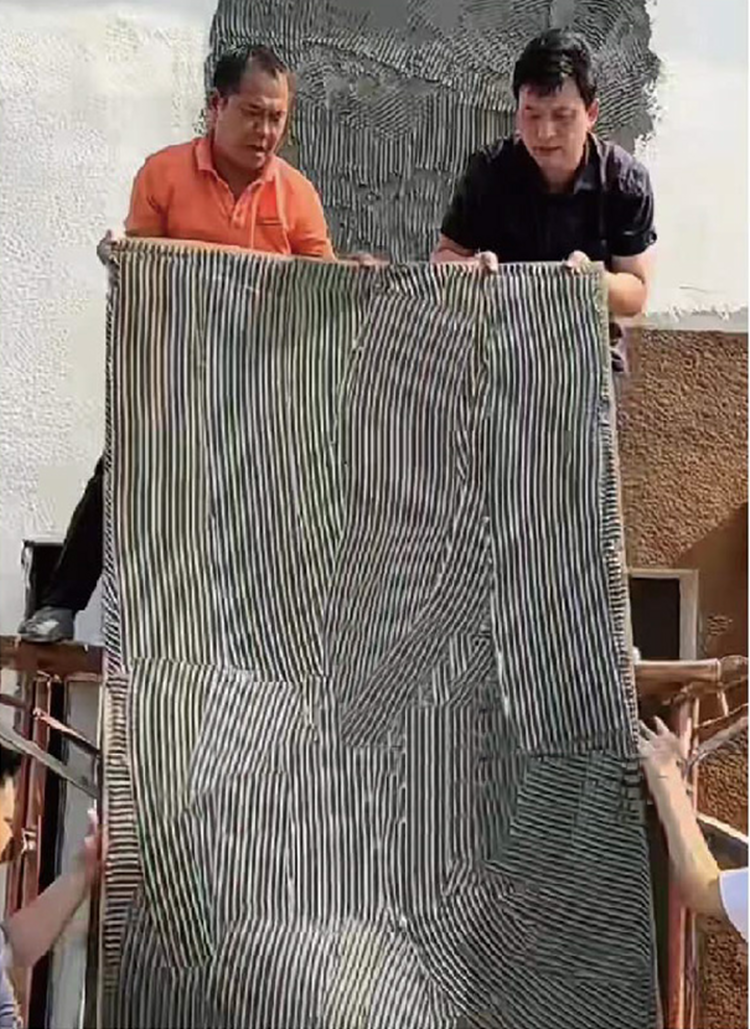
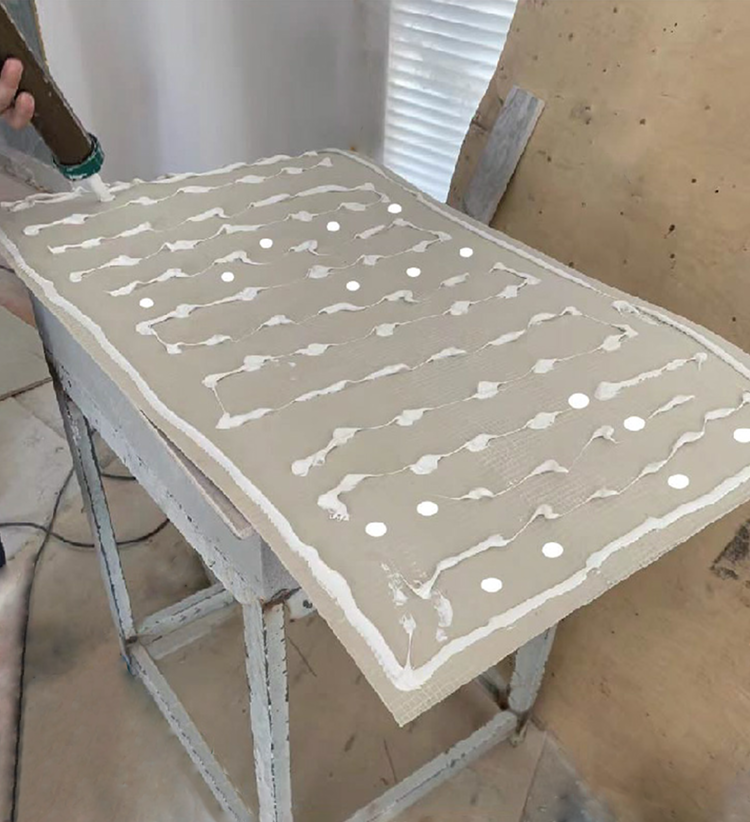
AC3 mortar or PU silicone. On vertical walls with PU silicone, the sheet may need to be nailed until it cures.
Outdoors and ceilings
AC3
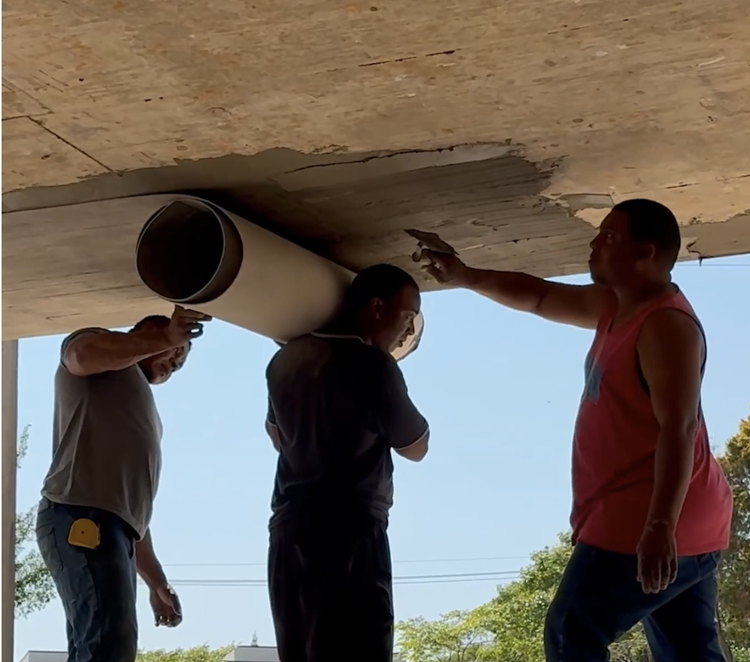
Always AC3 mortar. On ceilings, work with a team of three.
Step by step
From the wall
to the finished sheet.
On rough cement, concrete block, plaster or ICF walls, remove burrs and excess mortar.
On painted or skim-coated walls, sand until the surface is rough, for better adhesion.
Use AC3 mortar outdoors and AC3 or PU silicone indoors.
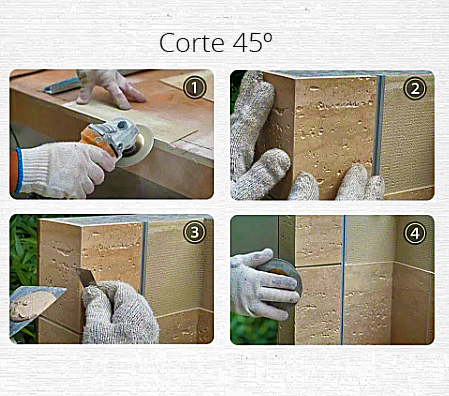
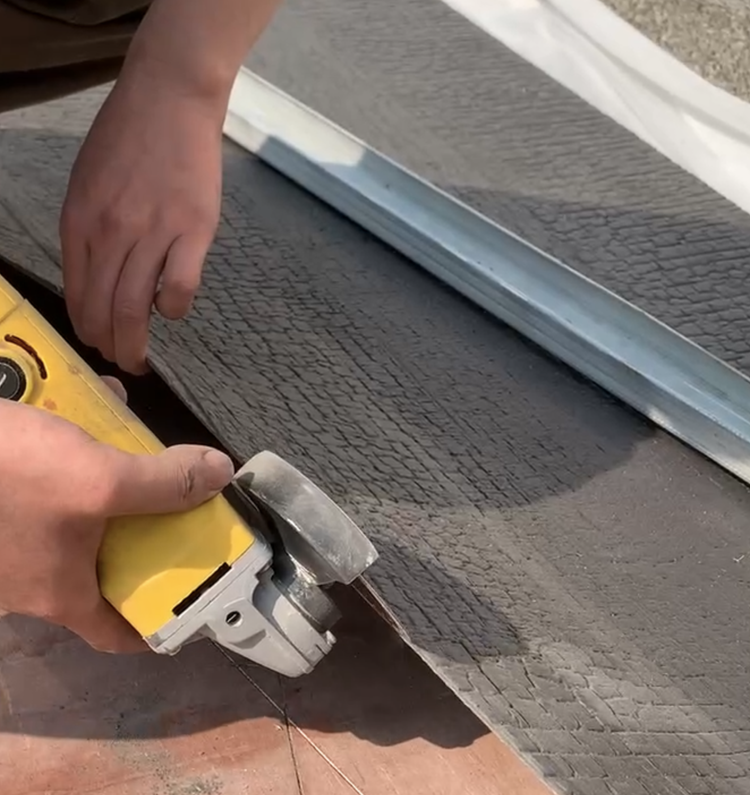
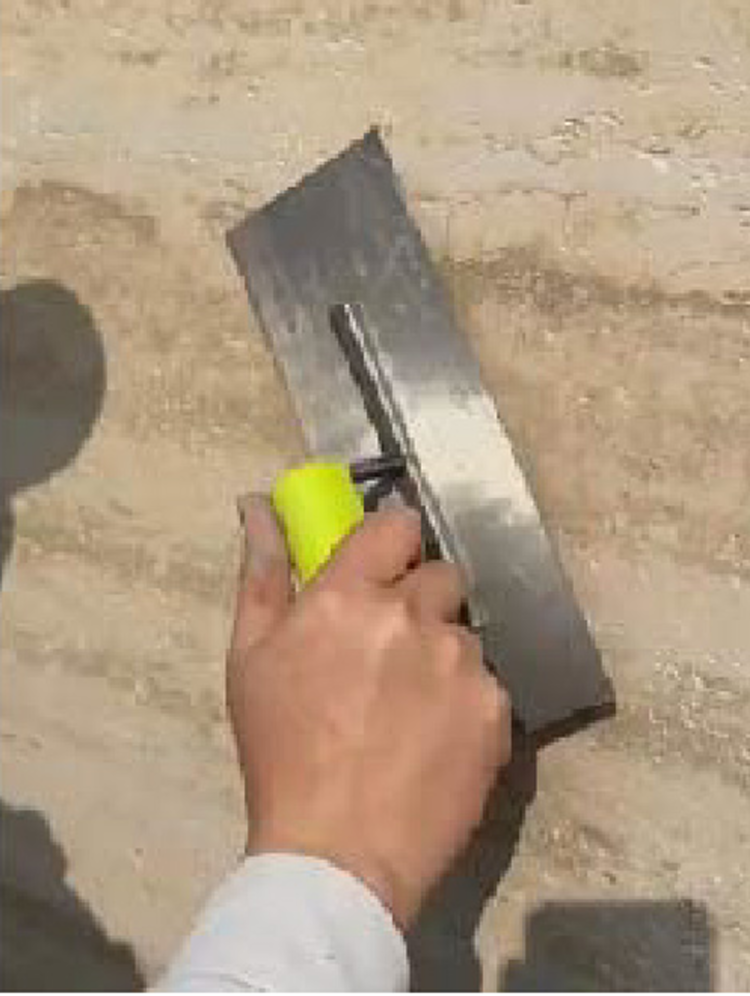
For corners between sheets, hand-cut a 45° bevel on the back of the sheet.
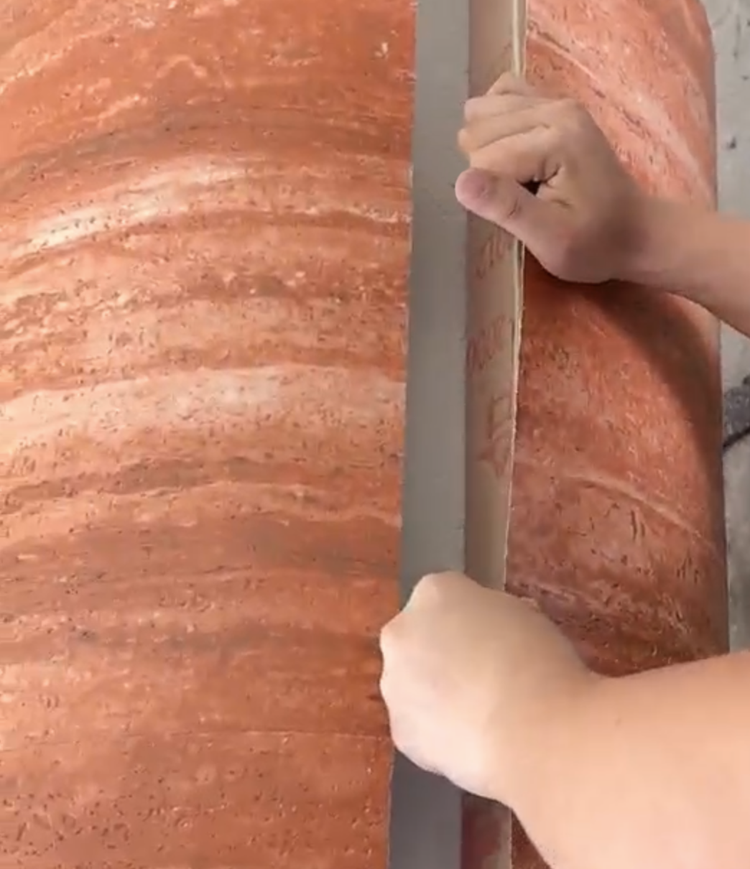
Leave a 1 to 2 mm joint between sheets.
After laying, remove trapped air by tapping lightly with a trowel or a vibrating tool.
On vertical walls with PU silicone, use a nail gun to hold the sheet until it cures.
On ceilings, always use AC3 mortar and a team of three.
Apply a water repellent to extend the life of the material.
In pictures